
In Confluence it is always possible to share news, new knowledge or interesting facts from your professional environment with your colleagues through blog posts. This knowledge transfer is essential for an effective knowledge management. But how do you get all your colleagues to read these posts? In the standard layout of Confluence, blog posts are often overlooked or just not found. In this blog post we would like to introduce the app “Lively Blogs” by which you can create a blog space in a few steps, either for the whole company or for certain departments.
To the Lively Blogs App (Try Lively Blogs for free now)
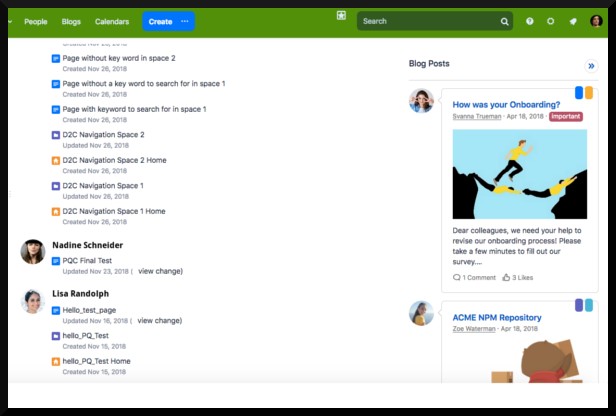
With Lively Blogs, blog posts can be displayed with thumbnails and text on all Confluence pages and the dashboard, marked as important and collected on the overview page or filtered as desired by the user.
STEP 1 - Installation of the app “Lively Blogs” from the Atlassian Marketplace
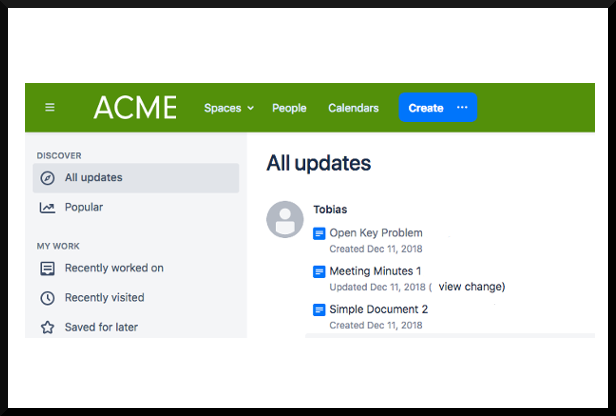
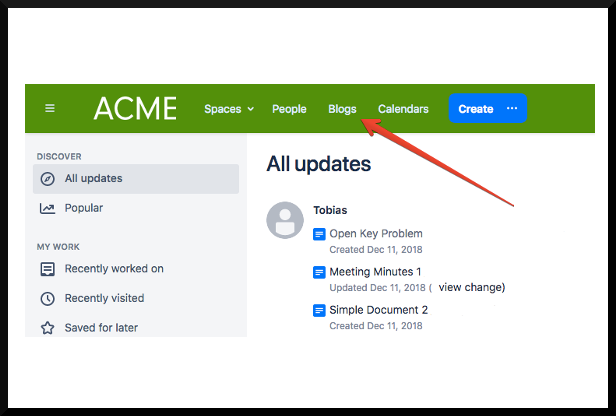
An improvement becomes visible immediately after the installation: A “Blogs” button appears in the header and one click reaches the overview of all blog posts in Confluence is reached within one click.
In the conventional view, all blog posts are lined up directly below each other. There is no categorization and therefore no possibility of filtering the respective topic areas.
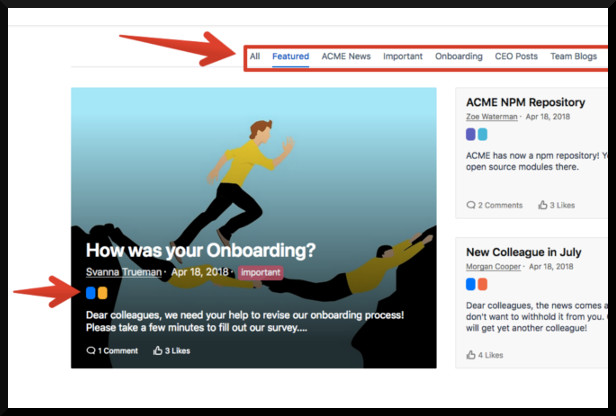
There are several improvements with the app installed: Since a categorization by topics is now possible, the topic bar is displayed in the upper part of the page. By clicking on a specific topic, you will be directed to an overview of the blog posts with the corresponding tag.
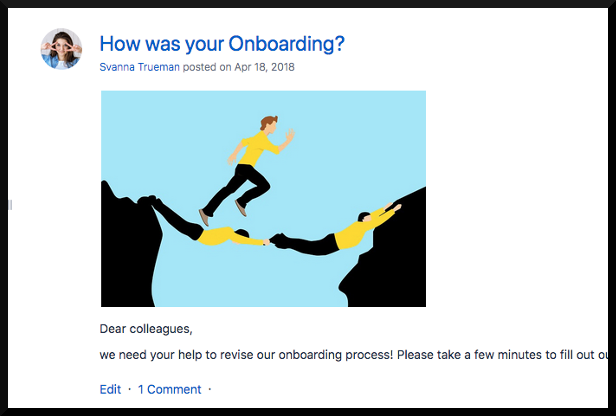
Furthermore, the blog posts are no longer arranged one below the other but next to each other. The most recent blog post is displayed highlighted.
STEP 2 - Create new blog posts with Lively Blogs
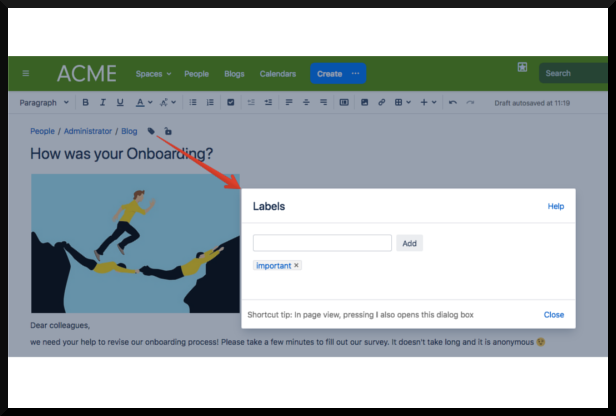
We will now create a new blog post. This step is identical with the previous process of creating a blog post. But now theme tags can be assigned to them.
These can be configured beforehand by clicking on “General Configurations” - left bar: “Lively Blogs” - Categories - Creation of a new tag with name and color.
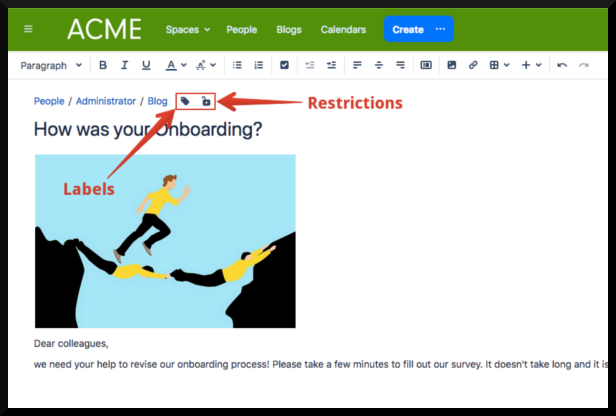
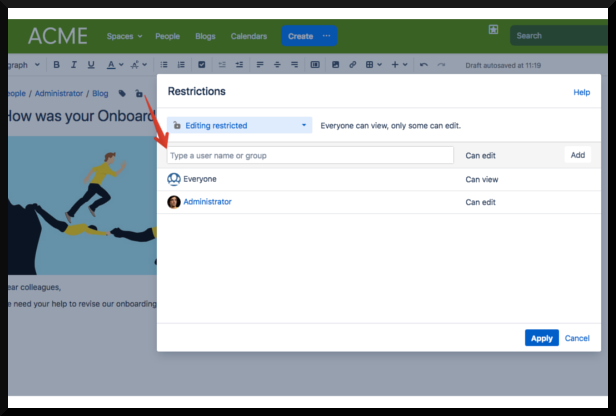
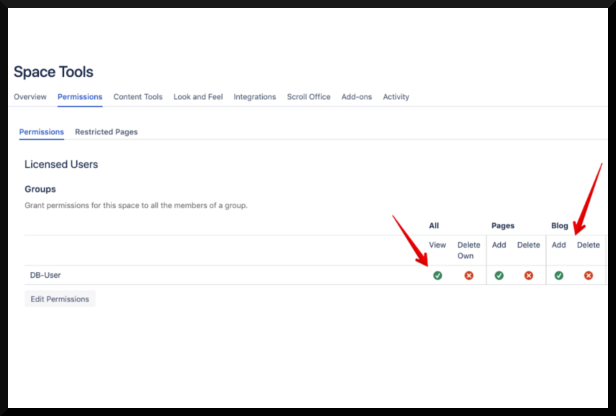
If you only want to restrict a certain area for one department or individual users, you can do this for a single blog post directly with the lock icon. If an entire space is only to be used for a certain group of users, you need to do this via : Select Space - left bar “Space Tools” - Permissions.

NEW: With the new update at the beginning of February, it will now be possible to prominently display new blog posts with a “new” tag. In addition, new blog posts can now be created directly from the dashboard’s Blog Post Panel (if the user has the appropriate permissions). This allows you to select the appropriate space in which the blog post should be saved.

CONCLUSION
After publishing the newly created blog post, it is now also displayed in the right sidebar of the Confluence dashboard. The colored topic tags are also visible at a glance. Employees can now see directly in which subject area the blog post is located and get a clear and graphically improved list of current blog posts.

.png)


.png)